Supplies: Selection, mask, WA and colours. Download here. Selection: Put my selection PSP4ALL_MF_TXG_Sel1_mf25 in the Sélections folder of your PSP. Mask: 1250182138_nikita_masque. Nikita's site is no longer online. Plugins : Mura's Meister > Copies & Lines. FU2 > Déformation Simple > Zoom Out and Flip Jeux de lignes > Entrelacement BorderMania Font: Pixelette for the credits. ****************************** *** Depending on the colors & tube you are going to use, feel free to change the mode and opacity of the layers. My colors:
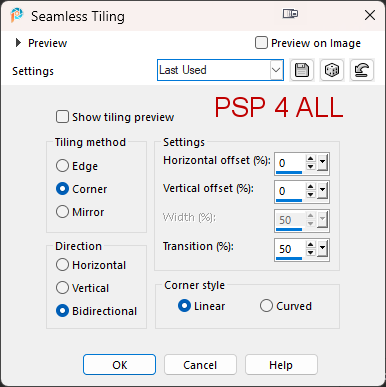
STEP 1 - Background 1.Open an image 900x550. Fill with white. 2. Add a layer. Selections > Select All. 3. Edit > Paste the tube into the selection. 4. Selection > Select None. 5. Apply Effects > Image Effects > Seamless Tiling
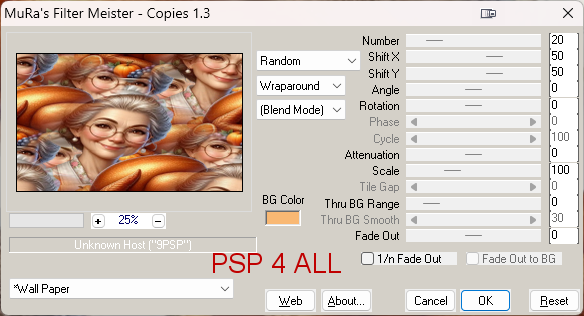
6. Mura's Meister > Copies > Wallpaper
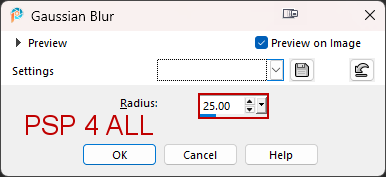
7. Adjust > Blur > Gaussian Blur. Radius on 25.
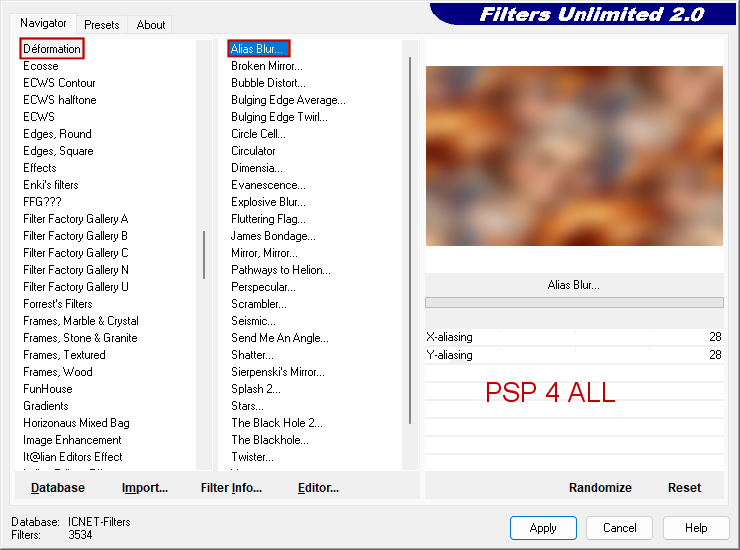
8. Apply FU2 > Déformation > Alias Blur
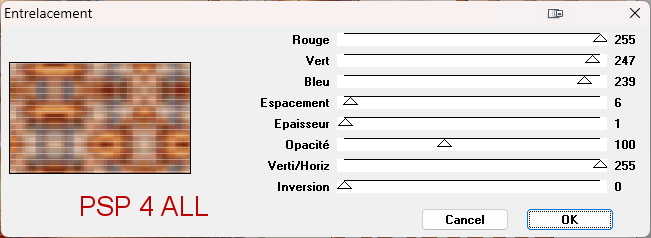
9. Effects > Edge Effects de bords > Enhance. 10. Duplicate. 11. On the copy, apply Effects > Simple > Zoom Out and Flip 12. Blend Mode of this layer on Screen. 13. Apply Effects > Jeux de lignes > Entrelacement
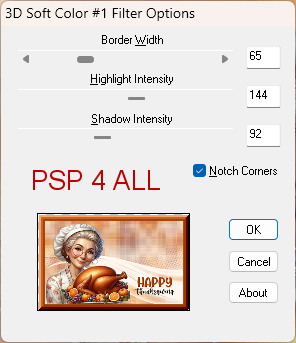
14. Open mask 1250182138_nikita_masque. 15. Add a layer and fill with #FFF7EF. 16. Layers > New mask layer > From an image. 17. Select Nikita 1250182138_nikita_masque. 18. Layers > Merge > Merge group. STEP 2 - Tube and small frames 19. Tube: Add the tube on the left. 20. Text: Add the text on the right. 21. You use my text, or my text recolored or the text of your choice. 22. Little Frames: Edit > Copy Special > Copy Merged. The image is saved to your clipboard. 23. Selections > Load/Save Selection > Load the selection from the disk and select PSP4ALL_MF_TXG_Sel1_mf25 24. OK. 25. Add a layer and fill with #A34207. 26. Selections > Modify > Contract 12 pixels. 27. Delete on your keyboard. 28. Edit > Paste into Selection (it will paste the image saved in the clipboard). 29. Selections > Select None. 30. Select the border. 31. Appy BorderMania > 3D Soft Color #1.
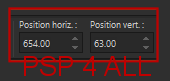
32. Selections > Select None. 33. Duplicate this layer and resize to 32%. 34.Move to the top of the pile on the right in the little frame. 35. Hit K on your keyboad to activate the Pick Tool
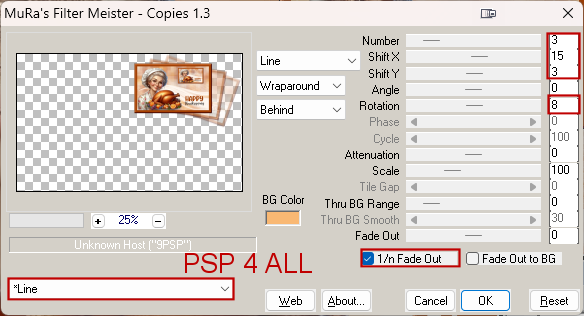
36. Hit the M key to desactivate the Pick Tool. 37. Appliquer Mura's Meister > Copies > Lines.
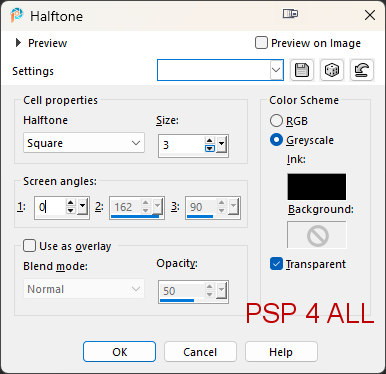
STEP 3 - Borders and Credits 38. Borders - Go to the top of the pile. 39. Edit > Copy special > Copy Merged. The image is saved in your clipboard. 40. Image > Ajouter des bordures. 41. Colour = #FFF7EF and size in pixels = 5. Check Symetric 42. Image > Ajouter des bordures. 43. Colour = #A34207 and size in pixels = 5. Check Symetric. 44. Image > Ajouter des bordures. 45. Colour = #FFFFFF and size in pixels = 40. Check Symetric. 46. Select this last border and paste the image saved to the clipboard into Selection. 47. Apply a Gaussian Blur with radius 25. 48. Apply Effects > Artistic Effects > Halftone.
49. Selections > Invert. 50. Apply a Drop Shadow 10, 10, 100, 50. Colour = #000000. 51. Repeat the Drop Shadow but change horizontal & vertical -10, -10, 100, 50. 52. Selections > Select None. 53. Image > Add borders. 54. Colour = #A34207 and size in pixels = 5. Check Symetric. 55. Credits: with a font like Pixelette or any other small pixel font. Martine 11 November 2025 If you have any questions, don't hesitate to contact me
|