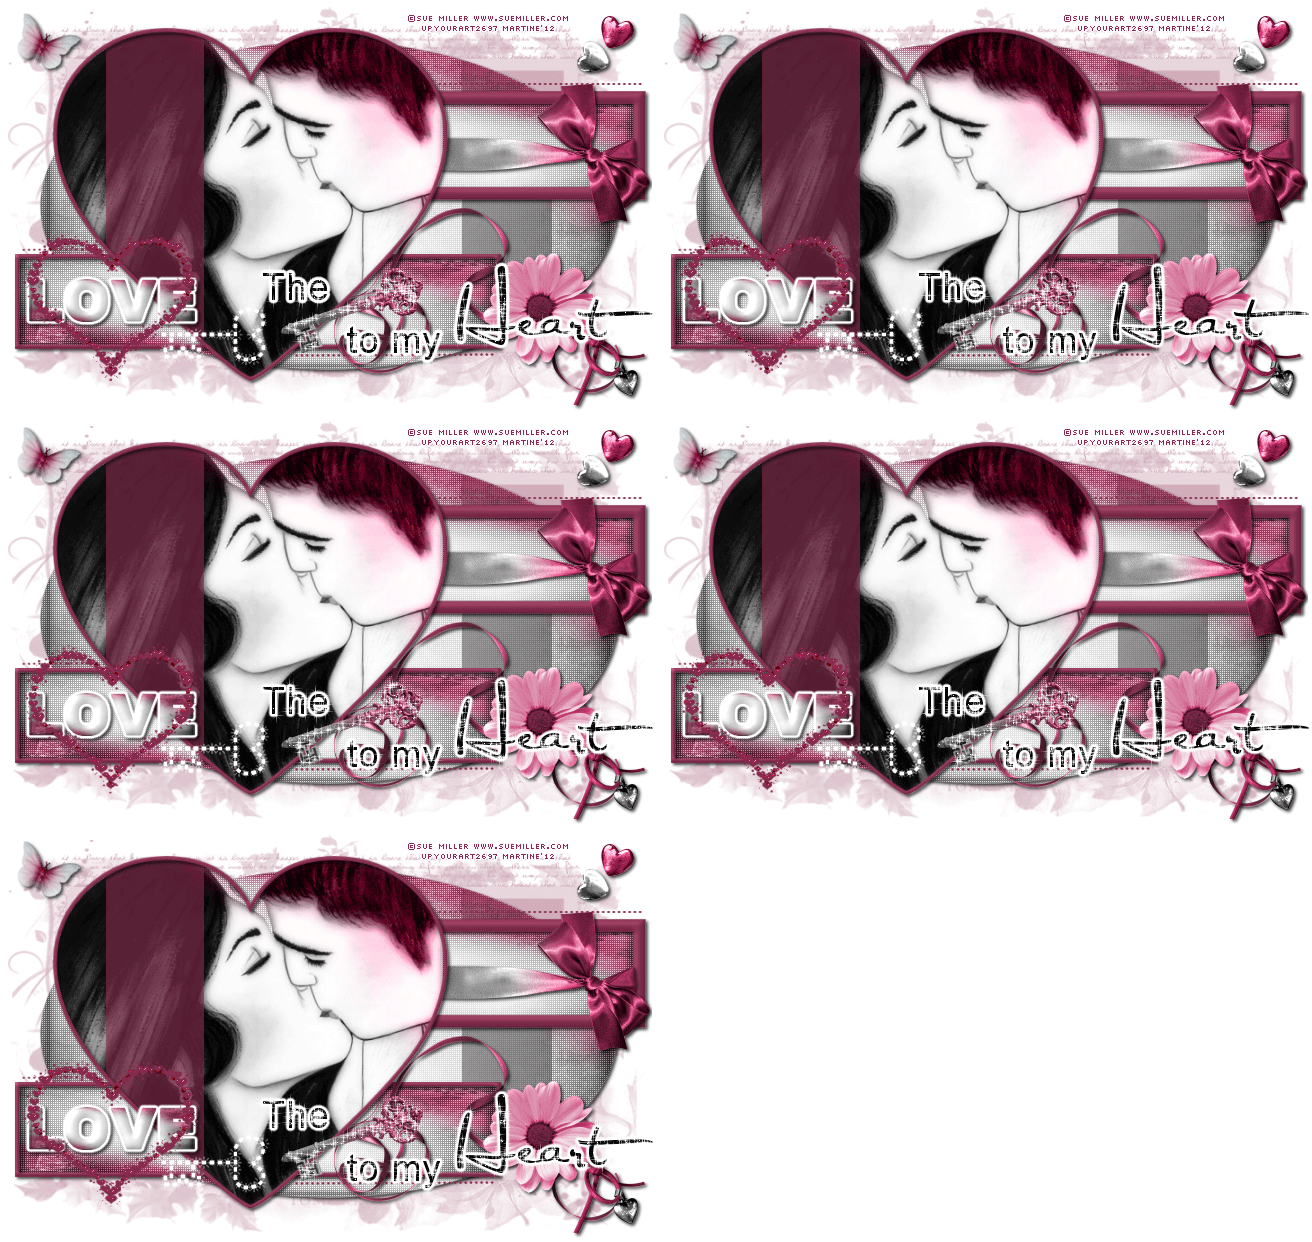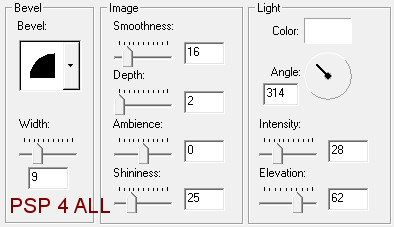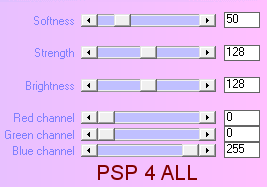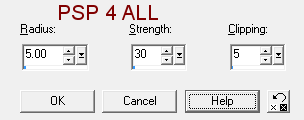
Template: Tag Template 41 by Scrapity Scrap and More.... Scrapkit: Lust by Bel vidotti Mask: Zuz Mask 4 by Zuzzanna Design Plugins: Eye Candy 4000 - Gradient Glow; penta.com - color dot; Xenofex 2 - Constellation. Font: Arial, Al Sandra and Pixelette. Animated Heart and Key: A bling by Barb Kermis to be found at Barb's Playground. You can download my E-Book which will let you work without being connected. STEP 1 - Mask Open the template and duplicate. Close the original. Resize the copy to 88%. Close the credit layer. Click on Background and add a layer. Fill with #842B4D or a colour of your choice. Open Zuz Mask 4 and apply. Masks > New > From image - OK. Then Masks > Delete. In PSP 8 and above, it's under Layers > New Mask Layer > From Image. OK then Delete. I lowered the opacity to 38. STEP 2 - Template layers Drop shadow: This is the drop shadow I used
Oval: Selections > Select All > Selections > Float > Selections > Defloat. Add a layer and copy paste BV_Lust_papers01 into the selection. Apply penta.com > color dot
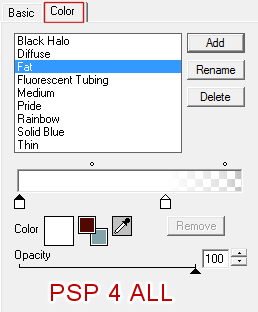
Selections > Select None. Apply the drop shadow. Delete the original layer. Repeat with these layers: Bottom Rectangle, Top Rectangle and Heart. Oval Line: Selections > Select All > Selections > Float > Selections > Defloat. Add a layer and fill with #842B4D or a colour of your choice Appy penta.com > color dot as before. Set the opacity to 53 and the layer to Luminance. Selections > Select None. Delete the original layer. Heart Line: Selections > Select All > Selections > Float > Selections > Defloat. Add a layer and fill with #842B4D or a colour of your choice Opacity at 62. Selections > Select None. Delete the original layer. Bottom Rectangle Border: Selections > Select All > Selections > Float > Selections > Defloat. Add a layer and fill with #842B4D or a colour of your choice. Apply an Inner Bevel
Selections > Select None. Apply the drop shadow. Delete the original layer. Repeat for Top Rectangle Border and Heart Border. All 3 Dotted Lines: Fill with #842B4D or a colour of your choice. STEP 3 - Tube Click on the Heart layer. Selections > Select All > Selections > Float > Selections > Defloat. Add your tube as a new layer. Selections > Invert > Hit Delete on your keyboard. Set this layer to Luminance. Apply Xero Porcelaine.
Selections > Select None. STEP 4 - Elements You may want to sharpen the elements after resizing. To sharpen, click on Adjust > Sharpness > Unsharp Mask
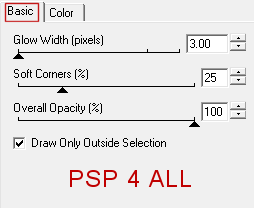
Don't forget to add a drop shadow. BV_Lust_element12: resize to 7%. Place above Top Rectangle Border. BV_Lust_element08: resize to 9%. Place above Bottom Rectangle Border. BV_Lust_element27: resize to 10%. Place above BV_Lust_element08 on the right. BV_Lust_element35: colorize. Adjust > Hue and Saturation > Colorize - Hue at 238 & Saturation at 130 to match my chosen colour #842B4D. Resize to 7%. Place above BV_Lust_element27. BV_Lust_element29: resize to 6%. Place them at the top on the right. BV_Lust_element14: resize to 6%. Rotate right 30° and place at the top on the left. BV_Lust_element44: resize to 15%. STEP 5 - Text and Wordart The (Key) to my Heart: Open a new image 400x400. Type The with Arial in black. Add the resized key BV_Lust_element44. Then type to my with Arial in black. And now type Heart with the font Al Sandra and in black. Close the key layer and merge visible the other 3 text layers. Apply Eye Candy Gradient Glow:
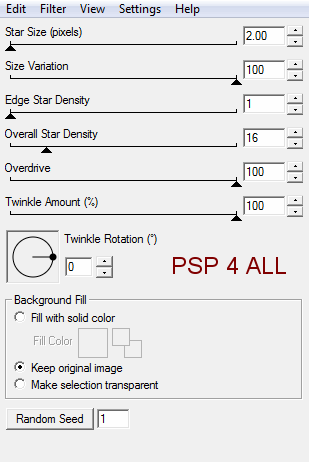
No drop shadow. We will add it later. Open the key layer. Merge visible. Copy paste this new layer on your tag, on the right, above the flower BV_Lust_element35. LOVE wordart on the template: Selections > Select All > Selections > Float > Selections > Defloat. Add a layer. Resize paper BV_Lust_papers01 to 5% and copy paste into Selection. Apply Eye Candy - the same Gradient Glow as before and the drop shadow. Selections > Select None. Move the wordart LOVE up so it is centered in the Bottom Rectangle. See mine. Delete the original layer LOVE and also the layer Love Border above it. STEP 6 - Credits With a small pixel font like Pixelette. STEP 7 - Animation Click on The (key) to my Heart layer. Duplicate until you have 5 copies. Rename H1, H2, H3, H4, H5. Close all H layers except H1. Selections > Select All > Selections > Float > Selections > Defloat. Apply Alien Skin Xenofex 2.
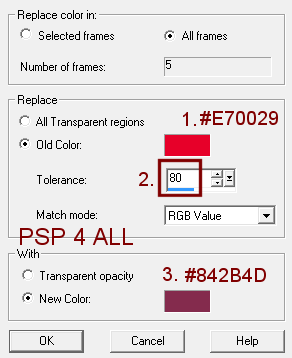
Keep selected. Close H1 and move onto layer H2. Open H2 and apply the same effect: Alien Skin > Constellation. Same settings except click on Random Seed so you have a different number. Now close H2 and move onto H3. Repeat what you have done for H1 and H2. Make sure that you change the Random seed. Repeat for H4 and H5. You have applied the Constellation effect to all 5 layers and each time you have changed the Random seed. Selections > Select None. Apply the same drop shadow as before to all 5 layers: H1, H2, H3, H4, H5. Close the background layer, the white layer at the bottom. Close H2, H3, H4, H5. Merge visible all the other layers. Copy paste this merged layer into Animation Shop as a new Image. Back to PSP. Click on the Undo arrow. Close H1 and open H2. Merge visible. Copy paste this merged layer into Animation Shop after the active Image. Back to PSP and repeat for all the H layers. You should have 5 frames in Animation Shop. Open the Barb Kermis Heart and Key bling animation. Delete the first frame, it's black and has the credit on it. I colorized the heart. Click on Edit > Select All. Animation > Replace Color. I used #842B4D as my New Color because it is the colour I have used throughout this tutorial but use the color of your choice if you prefer. Note the Tolerance at 80.
Make sure the 5 layers are selected and click on Edit > Copy. Now go back to your own result. Click on the first frame then on Edit > Select All. And drag the first frame of the Heart animation and drop it on the left on top of the wordart LOVE. (If you prefer go to Edit > Copy and paste the Heart animation). Animation > Animation Properties > Canvas Color > Opaque and choose white. Now save as a gif. Martine 26 January 2012 If you have any questions, don't hesitate to contact me |
