mask 161 by Laguna Azul
-
https://laguna-azul.at and my selections. Download
here.
Unzip and open the mask in PSP. Place the selections in the Selections
folder of your PSP.
Fonts: Pixelette
for the credits
******************************
Reminder: ***
Method to color a layer or add a paper -
Selections > Select All. Selections > Float > Selections >
Defloat. Or click with the magic wand.
Add a layer > Fill with the new colour or paper, texture.
Apply plugin if needed.
Selections > Select None.
Delete the original layer.
*** Depending on the colors & tube you are going to use, feel free to change
the mode and opacity of the layers.
*** Please note that is is best to resize
at the end to be able to use my selections.
STEP 1 - La Template
1. Open an image 900x500.
2. Fill with white.
3. Add a layer. Selections > Select All.
4.
Fill with paper_EF (9).
5. Selections >
Select None.
6. Adjust > Gaussian Blur 20%.
7. Duplicate.
8.
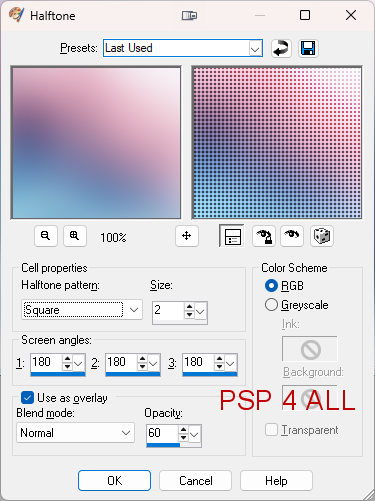
Apply
Artistic Effects > Half Tone
9. Layers > Properties > Blend mode >
Lighten.
10. Layers > Merge Down.
11.
Selections > Select All. Modify > Contract 50 pixels.
12.
Add a layer. Fill with a colour from your tube, blue
here:
#078EED.
13. Modify and contract 1 pixel and fill with white
#FFFFFF.
15. Modify and contract 8 pixels and fill with #078EED.
16.
Modify and contract 1 pixel.
17. Click on
Delete on you keyboard.
18. Selections > Promote Selection to Layer.
19. Layers > Properties > Blend Mode > Screen.
20.
Selections > Select None.
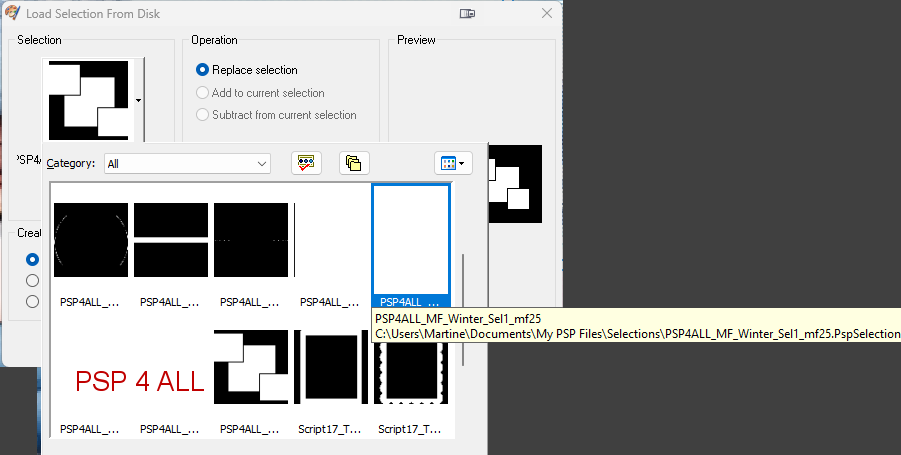
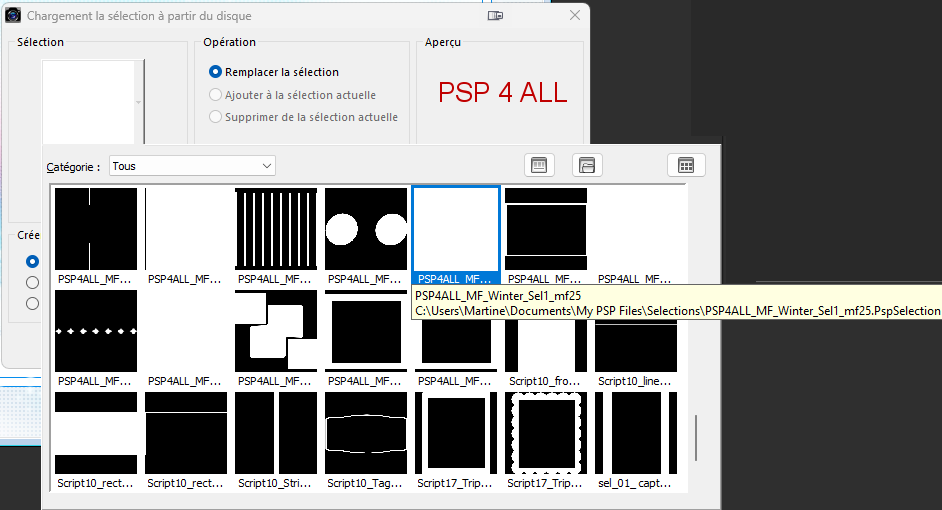
21. Click on Selections > Load/ Save Selection >
Load Selection from Disk. Choose selection
PSP4ALL_MF_Winter_Sel1_mf25.PsPSelection.
|
Cliquer pour agrandir
|
22. Add a layer. Fill with a colour
from your tube:
#078EED.
23. Modify and contract 1 pixel and fill with white
#FFFFFF.
24. Modify and contract 8 pixels and fill
with #078EED.
25.Modify and contract 1 pixel
26. Fill with paper_EF (9).
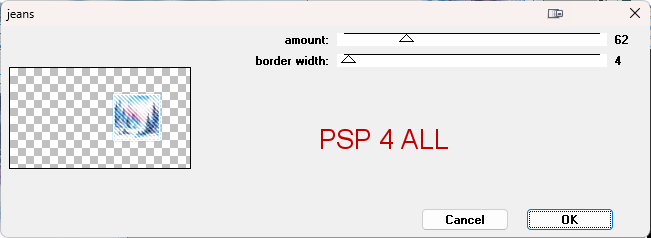
27.
Apply penta.com > jeans.
28. Select None.
29. Rename Middle Frame.
30. Repeat Load/ Save Selection but this
time choose PSP4ALL_MF_Winter_Sel2_mf25.PsPSelection.
31. Add a layer. Same border,
same paper and same effect.
32. Select None.
33. Repeat Load/ Save Selection but
this time choose PSP4ALL_MF_Winter_Sel3_mf25.PsPSelection.
34. Add a layer. Same border,
same paper and same effect.
35. Select None.
STEP2 - Elements and
Tubes
36. Click on surMiddle Frame.
37. Ajouter element_EF (49) en nouveau calque ŕ gauche.
38.
Layers > Arrange > Move down.
39.
Duplicate and place the copy on the right.
40. Selections >Select All.
41. Image
> Crop to Selection.
42. Back to the top of the pile.
43. element_EF (37) - 30%. Left.
44. element_EF (42) - 35%. Middle.
45. Tube. Left of the snowman.
46. element_EF (50) - 50%. Colorize
in
blue
#078EED.
47.
Adjust > Hue and Saturation. Colorize with the Hue on
145 and Saturation on 240.
48. element_EF (45) - 5%. Image >
Mirror
horizontal. On the WA.
49. element_EF (47) - 20%. Right.
50. Add a layer and fill
with white.
51. Open mask 161 by Laguna Azul.
52. Layers > New Mask Layer >From image
and choose mask 161.
53. Click on OK.
54. Move this layer down under the Tube.
55.
Adjust > Sharpen > Sharpen More.
57. Back to the top of the pile and add a border.
58. Add a layer. Fill with a colour from your
tube:
#078EED.
59. Modify and contract 1 pixel and fill with
white
#FFFFFF.
60. Modify and contract 8 pixels and fill with #078EED.
61. Modify and contract 1 pixel.
62. Selections > Select None.
STEP 3 - Credits
63. with
a small pixel font like Pixelette or
any other small font.
STEP 4 - Snow
64. Click on Selections > Load/ Save Selection >
Load Selection from Disk. Choose selection
PSP4ALL_MF_Winter_Sel4_mf25.PsPSelection.
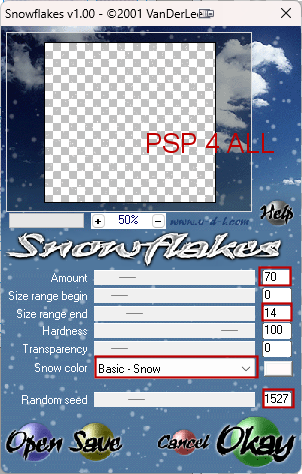
65. Effects > Plugins > VDL Adrenaline >
Snowflakes.
66.
63. Click on Okay.
67. Selections
> Select None.
68. Edit > Copy
Special > Copy Merged.
69. Open Animation Shop.
70. Paste As New Animation.
71. Back to PSP - Undo
twice to remove the snow and be back to the rectangular selection.
72.
Apply VDL Adrenaline but change Random Seed to 2650.
73. Click on Okay.
74. Selections > Select None.
75. Edit
> Copy
Special > Copy Merged.
76.
In Animation Shop,
Edit >
Paste After Current Frame.
77. Back to PSP.
78.
And Repeat. But you must change Random Seed each time.
1. 1727
2. 2650
3. 3250
4. 4380
5. 6000
79.
You now have 5 images in Animation
Shop.
80. Sélectionner tous les calques.
81. Animation >
Frame Properties
= Display Time on 20.
82. Click on View Animation for a last check and save as a gif.
Martine
22 January 2025
If you have any questions, don't hesitate to contact me