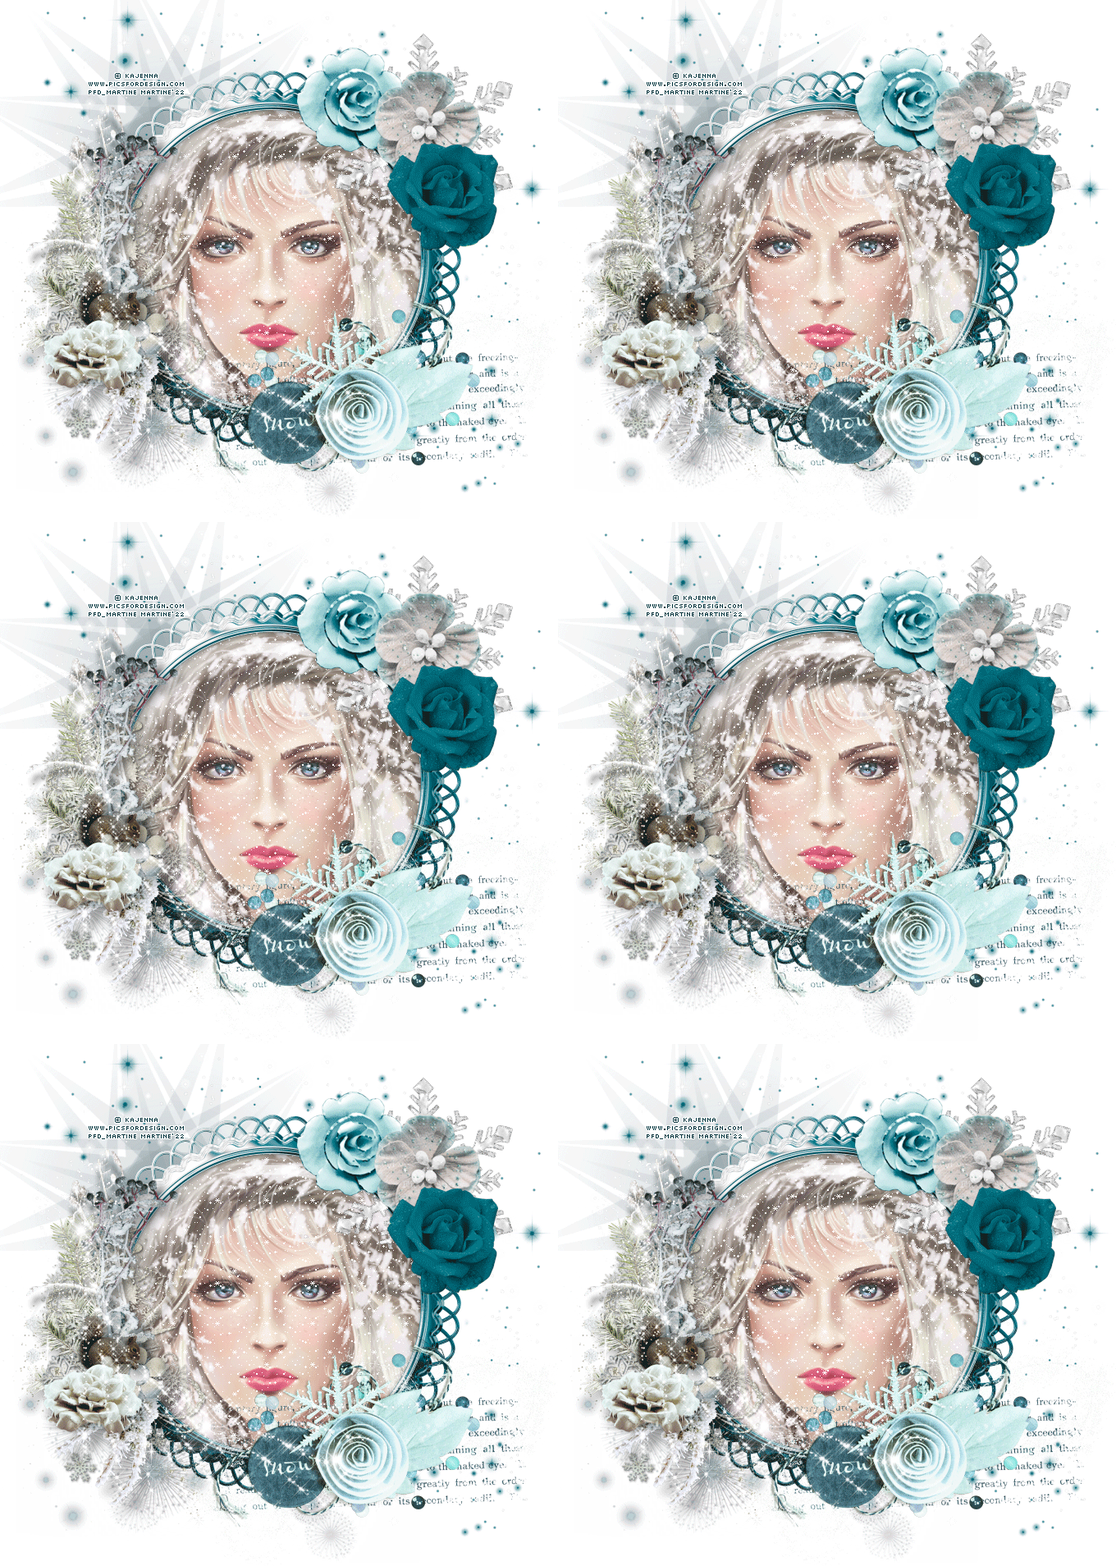
Tube(s) of your choice, free or not but the
credit for all the tubes must be added to your tag. I use
un tube ©Kajenna -
www.PicsForDesign.com. -
Plugins: Xero > Clarity.
Eye Candy 5 : Impact > Glass
1 Preset Alien Skin Eye Candy 5 - PSP4ALL_MF_WinterSQ_mf22 - download
here.
The snow is also in the zipped file.
Unzip the preset. To import it in Alien SKin
Eye Candy 5: Double click on the preset and it will install itsef in Settings in
Alien Skin Eye Candy 5.
-
Scrapkit: SYHO November Blog Train Freebie by
Mythical Designs.
Download
here.
-
Font: Pixelette for the
credits.
STEP 1 - Under the snow
Open an image 800x800. Fill with #FFFFFF. Rename Background.
You can resize at the end.
Frost_Fr2 - Paste As New Layer.
Activate the Background.
Frost_El-24 - Ttop, left. Rename
Frame.
Frost_El-6 - Bottom, left. Duplicate. > Merge visible.
Frost_El-29 - Top, right. Duplicate. Free Rotate 90°, right.
Back onto the top layer - the Frame.
Click once
inside with the Magic Wand.
Selections >Modify > Expand 3
pixels.
Paste the background which is included with your tube or a background
paper of your choice.
Selections > Invert. Image > Cut.
Slide this layer underthe frame and rename Frame Background.Still
on the paper background -
Selections > Invert
Add the
Tube - Selections > Invert . Image > Cut.
Selections >
Select None.
Effects > Xero > Clarity. Default
settings.
STEp 2 - §Snow layers
Open the Snow image. Paste each layer on your work one at a time.
Rename the layers S1, S2, S3 etc... in order to have
10 Snow layers in all.
Activate the Background layer.
Selections > Select All. Selections > Float > Selections >
Defloat.
Selections > Inverter.
Activate S1. Edit > Cut.
Activate
S2. Edit > Cut.
Activate
S3. Edit > Cut.
Repeat until you have done all 10 Snow layers.
Close all 10 Snow layers.
Selections > Invert.
Add a layer.
Apply Eye Candy 5. Impact > Glass.
Under Settings, choose PSP4ALL_MF_WinterSQ_mf22. OK.
Selections > Select None.
STEP 3 - Other elements above the Frame
Activate the Frame layer.
Frost_El-34 - Bottom right.
Frost_El-19 - Bottom left.
Frost_El-27 - On top.
Frost_El-26 - Top right.
Frost_El-7 - 45%.
Frost_El-20 - 45%.
Frost_El-22 - 45%.
STEP 4 - Credits
with a small pixel font like Pixelette or any other small font..
STEP 5 - Animation
Check that all the Snow layers are closed.
Activate S1. Open S1.
Edition > Copy Special > Copy Merged.
Open Animation Shop.
Edit > Paste As New Animation.
Back to PSP.
Close S1. Activate S2 and open.
Edition > Copy Special >
Copy Merged.
In Animation Shop, Edit> Paste After Current Frame.
Back to PSP.
Close S2. Activate S3 and open.
Edition > Copy Special > Copy Merged.
In Animation Shop, Edit> Paste
After Current Frame.
Repeat for all the layers Snow, up to and including S10.
You now have 10 images in Animation Shop.
Click on View Animation for a last check and save as a gif.
Martine
12 janvier 2022
If you have any questions, don't hesitate to contact me


