|
 |
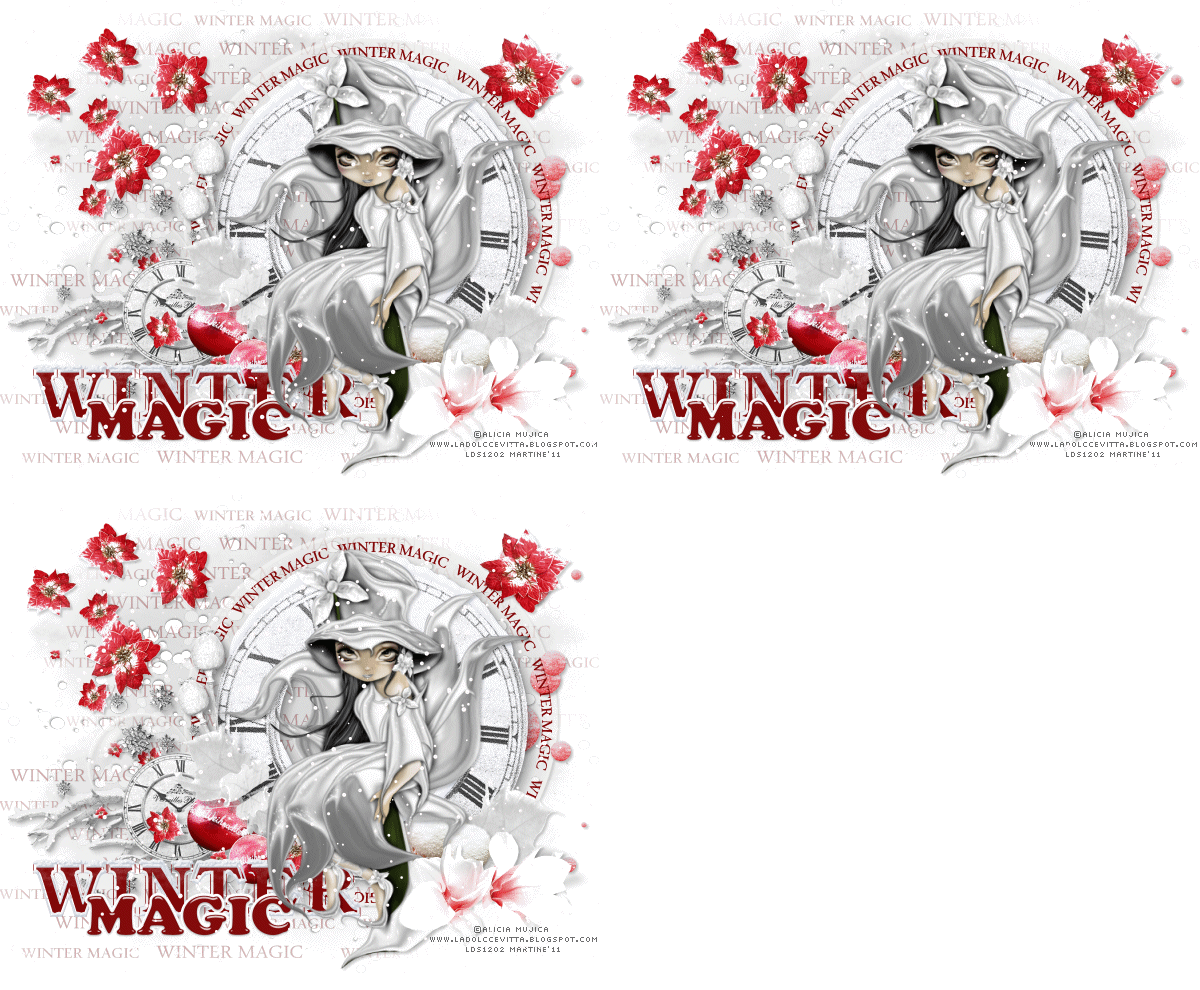
~*~ Winter Magic ~*~
(Version française
ICI) |
|
|
 |
|
|

|

Tube of your choice, free or not, but the credit for the tube must be
added to your tag. The tube I am using is © Alicia Mujica -
www.ladolccevitta.blogspot.com/.
If you use the same tube, you must first buy it and obtain a license at
PTE.
Scrapkit:
Winter Magic by Mago74 at her blog
Mago74.
Mask: Gems Mask 192 at
Gems Taggin Scraps.
Plugins:
Van Der
Lee" Snowflakes". Download
here.
Font: Pixelette.
You can download
my E-Book which will let you work without being connected.

STEP 1 - Background and Mask
Open an image 600x480 and fill with white.
Add a layer and fill with a colour from your tube. I used #767676.
Open Mask Gems Mask 192 and apply. Masks > New > From image - OK. Then Masks >
Delete. In PSP 8 and above, it's under Layers > New Mask Layer > From Image. OK
then Delete.
I lowered the opacity of this layer to 28.
STEP 2 - Elements
The drop shadow I used on some of the
elements and the tube
WINTER MAGIC by_Mago74 closter frame (2) - Image > Resize 20%. Add drop
shadow.
Add a layer > Move this layer under but above the mask.
Selections > Select All.
The following elements all go below the cluster frame:
WINTER MAGIC by_Mago74 el (8) -
Selections > Select All > Selections > Float > Selections > Defloat.
Edit > Copy
and then paste this element into selection.
Selections > Select None.
Add a layer > Selections > Select All.
WINTER MAGIC by_Mago74 WA (1)
- Selections > Select All > Selections > Float > Selections > Defloat.
Edit >
Copy and then paste this element into selection.
Selections > Select None.
Lower opacity of this wordart layer to 33.
WINTER MAGIC by_Mago74 el
(52) - Image > Resize 15%. Place on the right. Add drop shadow.
WINTER MAGIC by_Mago74 el (22) - Image > Resize 13%. Place on the
left. Add drop shadow.
WINTER MAGIC by_Mago74 el (70) - Image > Resize 20%. Above el(52) but
still under Cluster frame2. Position so it goes around the clock. Add drop shadow.
WINTER MAGIC by_Mago74 WA (5) - Image > Resize 18%. Above el(70) and
position so it goes around the clock of the cluster frame. Add drop shadow.
These elements go above the cluster frame:
WINTER MAGIC by_Mago74 WA
(6) - Image > Resize 20% and place on the
left.
Add your tube - Same drop shadow.
WINTER MAGIC by_Mago74 el (31) - Image > Resize 17%. Place on the
right, at the bottom. Add drop shadow.
WINTER MAGIC by_Mago74 el (46) - Image > Resize 17%. Place on the
right, at the top. Add drop shadow.
STEP 4 - Credits
With a small pixel font like Pixelette.
STEP 5 - Animation
Close the
bottom layer, the white background.
Merge visible all the other layers.
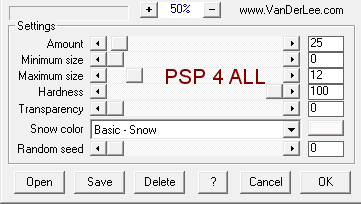
Apply the Van Der Lee Snowflakes effect.
Effects > Van Der Lee > Snowflakes
|
 |
Copy paste in Animation Shop.
Go back to PSP. Click on the Undo arrow.
Apply the same effects but
change the Random seed. This time enter 30.
Paste this merged image
after the Current Frame in Animation Shop.
Go back to PSP. Click on the Undo arrow.
Apply the same effects but
change the Random seed. This time enter 60.
Paste this merged image after the Current Frame in Animation Shop.
You now have 3 frames in your animation.
Click on Edit > Select All.
Change the speed - something around 25 to 30.
Click on View Animation until satisfied with the speed.
Keep selected and click on Animation > Animation Properties > Canvas Color > Opaque and choose white.
Now save as a gif.
Martine
8 December 2011
If you have any questions, don't hesitate to contact me

|


